
Your Custom Text Here

Downward Facing Dog: Essential Yoga Posture and Beginner Modifications for Maximum Benefits
Downward Facing Dog and 2 Variations for Beginners" is a helpful guide for those new to yoga. The article introduces the classic Downward Facing Dog pose and provides two variations tailored specifically for beginners. Whether you're looking to improve flexibility, build strength, or simply relax, this guide offers a great starting point for your yoga journey.
Downward Facing Dog: Essential Yoga Posture
The yoga posture known as Downward Facing Dog (Adho Mukha Svanasana) is familiar to all. Whether or not you engage in yoga, you have likely come across this pose at some point.
Now, let us examine it more closely and delve into the two modifications designed for beginners to enhance this essential yoga posture's mental and physical advantages.
Downward Facing Dog Version 1: The Original Version

To get into a downward-facing dog, starting from the tabletop pose is commonly recommended,
From the tabletop, lift the knees up off the floor.
Through that, extend to find the entire length of the spine. A downward-facing dog's most important aspect is finding the full release of the spine to get the most benefits.
Keep your head down, pointing downward.
The legs could be straightened or bent if the spine is adequately elongated without rounding.
For beginners, stay in the pose for 2-3 breaths and gradually build up to a longer duration.
The downward-facing dog can be modified for individuals with different ranges of motion, especially those with less mobility training. Below are the most recommended modifications for entry-level beginners or anyone who finds it hard to accommodate into the full version yet,
Option 2. Modification Bend Knees Version Downward Facing Dog

Based on the steps from the original version, slightly bend your knees towards your chest while maintaining the spine in proper alignment without rounding.
Stay in this pose for around 3-5 long deep breaths.
Option 3. Modification with movement - Paddling in Downward Dog
Based on option 1, paddling your feet in and out in the downward dog.
Start slightly bending your right knee towards your chest while straightening your left leg. Feel the left leg stretch from the calf muscles to the hamstring and hips. Repeat the same motions on the other side.
For active practice, keep your paddling lightly and smoothly; at any point, if you feel a deeper stretch and connection on one of the legs, you may stay there longer.


What are the benefits of a downward-facing dog?
The Light of Yoga by B.K.S. Iyengar emphasizes the numerous benefits of incorporating downward-facing dogs into one's yoga practice. Here's a concise summary in bullet points.
When one is exhausted, staying longer in this pose removes fatigue and brings back the lost energy.
The pose is perfect for runners who get tired after a hard race.
The pose relieves pain and stiffness in the heels and helps to soften calcaneal spurs. It strengthens the ankles and makes the legs shapely.
This asana helps eradicate stiffness in the region of the shoulder blades, thereby relieving arthritis of the shoulder joints.
The abdominal muscles are drawn towards the spine and strengthened. The heart rate is slowed as the diaphragm is lifted to the chest cavity.
Those afraid to do Siraasana (headstand) can conveniently practise this position. As the trunk is lowered in this asana, it is fully stretched, and healthy blood is brought to this region without any strain on the heart.


Learn the Modified Sun Salutation Sequence for Beginners
Sun Salutation is a must-learn sequence for beginners in yoga. However, it can be challenging for many students to master the sequence due to its complexity. As a yoga teacher, I have modified the sequence over the years to help my students gradually build the strength and mobility required for their long-term yoga journey. In this article, I will guide you through the modified version of the Sun Salutation sequence with step-by-step instructions, enabling you to lay a solid foundation for your future success. Remember to breathe deeply and move along with the rhythm of your breath to enjoy the beauty of Sun Salutation.
Sun Salutation is the must-to-learn when introducing yoga to beginners. Interestingly, throughout my years of teaching, the Sun Salutation sequence has been more challenging than it seems to most beginners.
Many of my students were frustrated when they first learned the Sun Salutation; hence, I modified it so they could eventually taste the sequence's beauty and build up the strength and mobility required for their long-term journey.
Sun Salutation varies slightly between different yoga styles and traditions, but whatever version you aim for, this modification will lay a solid foundation for your future success.
Step 1 - Mountain Pose - (Tadasana)
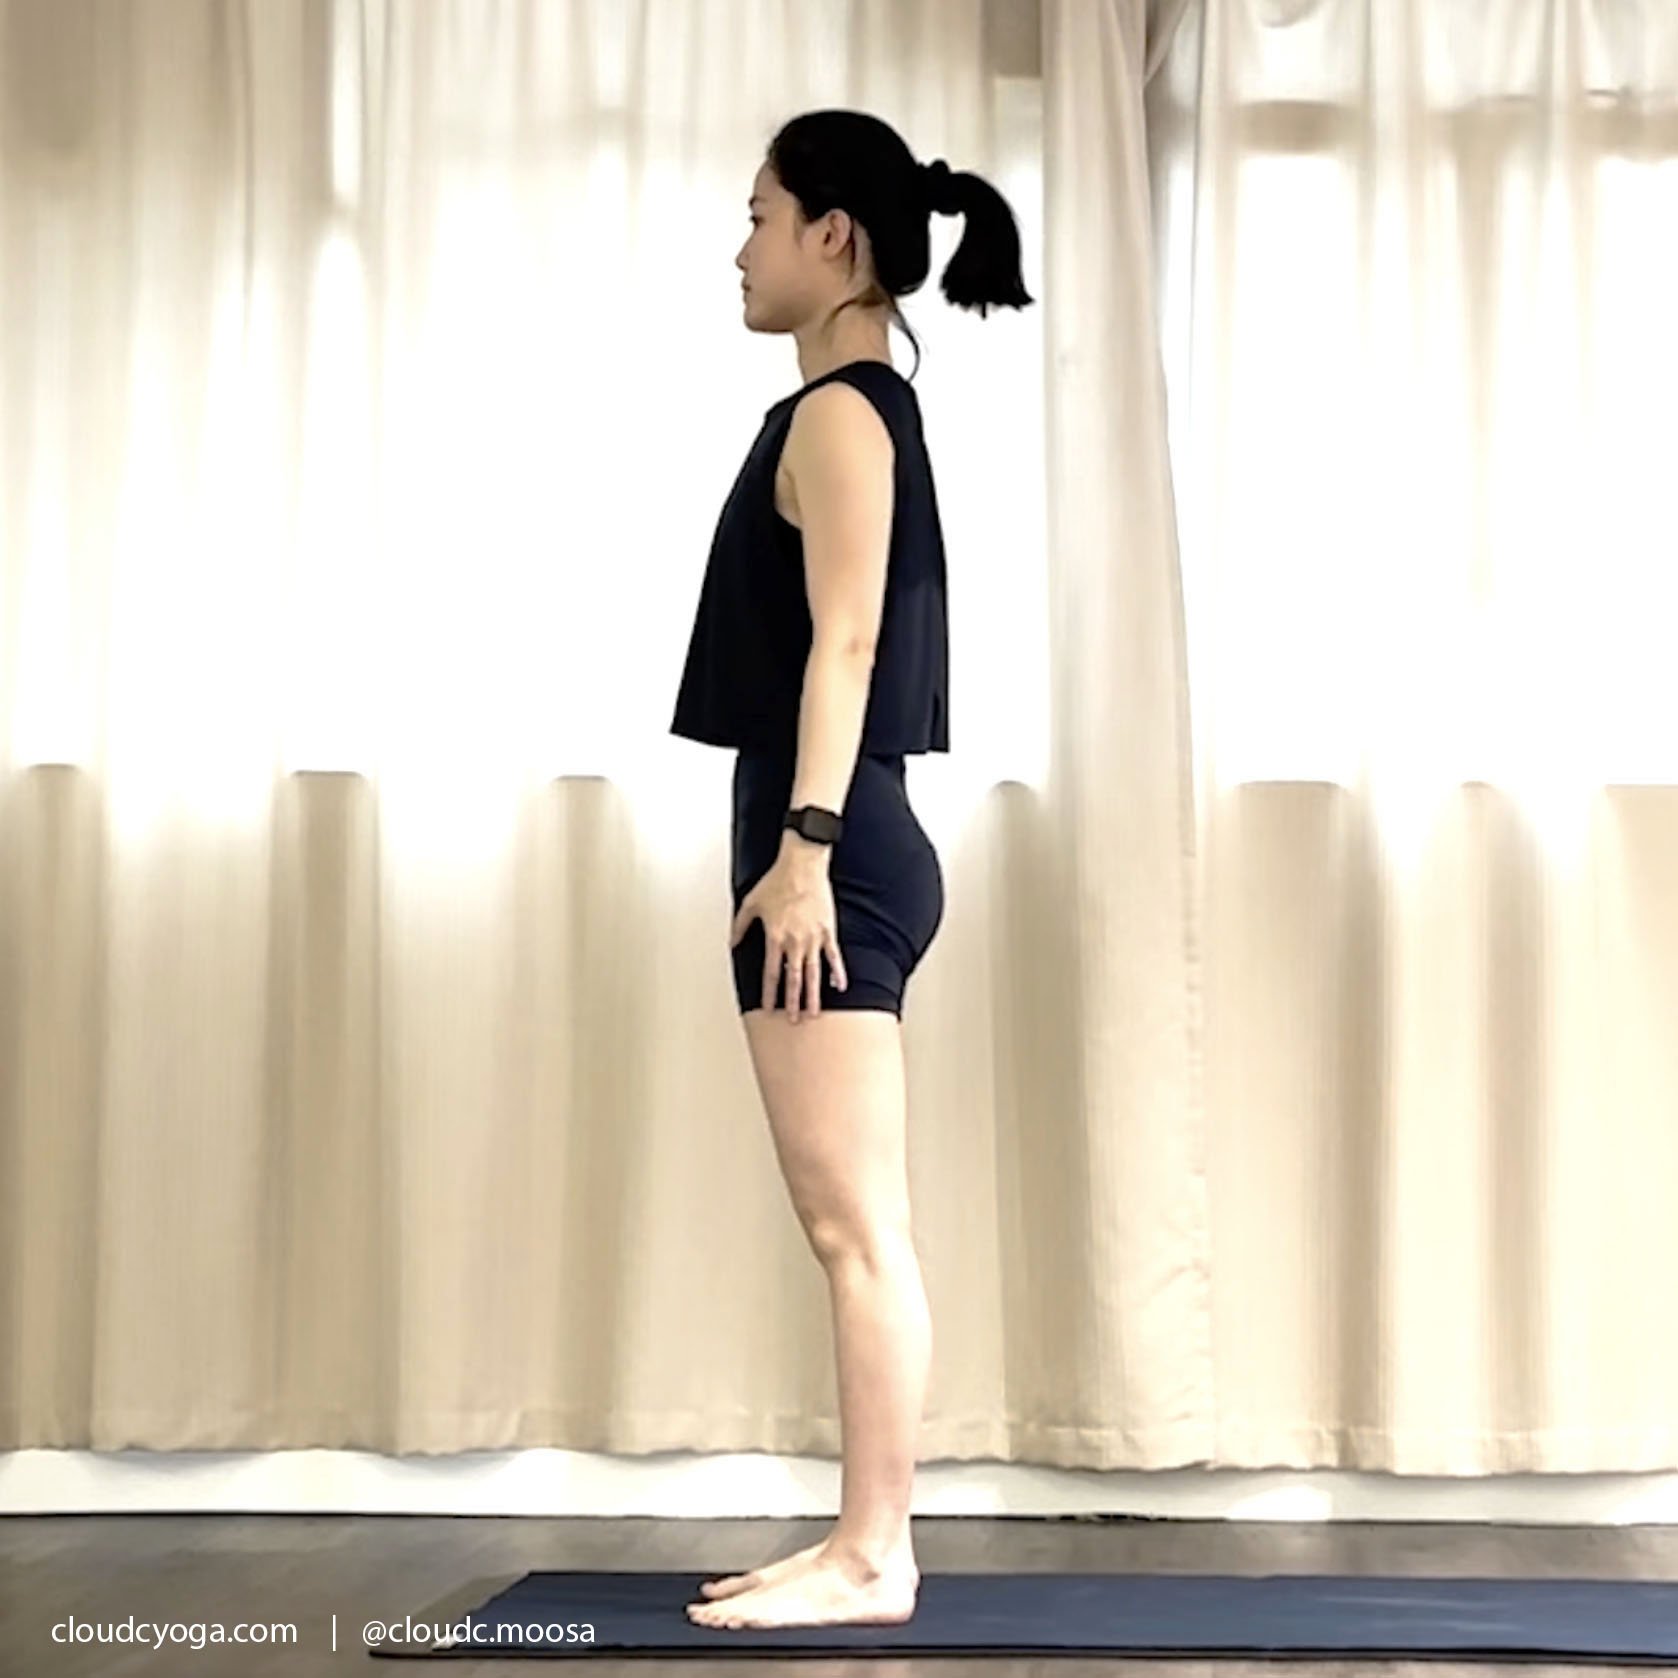
Start from standing in Tadasana and rebuild the intention of standing firmly grounded.
Keep your feet shoulder distance, and feel the power of grounding while standing.
Step 2 - Arms Extended in Mountain Pose (Utthita Hastasana in Tadasana)

Arms Extended in Mountain Pose (Utthita Hastasana in Tadasana)
Raise your arms next to your ears.
Chest slightly lifted, gaze upward.
Enjoy deep breaths in this gentle front body opening.

Dive into a standing forward bend with your knees bent.
Grab your ankle with your hands.
Bring the belly close to the thighs as much as possible.
Elongate the spine.
Keep neck and head relaxed.
Step 4: Half Forward Bend (Ardha Uttanasana)

Half Forward Bend - Ardha Uttanasana
Lift head halfway.
Elongate the spine.
Keep knees slightly bent at a comfortable level.
Step 5: Low Lunge (Anjaneyasana)

Low Lunge (Anjaneyasana)
Step your right leg back, and bring your knee to the floor.
Arms reach up next to the ears.
Keep the foundation solid, and remain steady in the pose.
Step 6: Cat Cow (Marjaryasana)
On inhalation, drop the belly and head up.
On exhalation, round the back chin of the chest.
Exploring the space within your space.
Move along with the rhythm of your breath.

Cat Cow (Marjaryasana) - Cow Pose

Cat Cow (Marjaryasana) - Cat Pose
Step 7: Downward-Facing Dog - Adho Mukha Svanasana

Downward-Facing Dog - Adho Mukha Svanasana
From the Table Pose (the set-up of Cat-Cow), tuck your toes under and extend the back leg up.
Spread the fingers wide with a firm grip on the floor.
Extend the spine long, and the buttocks lift.
Keep the spine long and straight, and bend your knee to adjust the spine's elongation.
Step 8: Three-Legged Dog - (Tri Pada Adho Mukha Svanasana)

Three-Legged Dog - (Tri Pada Adho Mukha Svanasana)
From Downward Facing Dog in Step 7, bring the feet together. Knees can remain bent.
Extend the right leg up without putting pressure on the upper body.
Step 9: Low Lunge (Anjaneyasana)

Low Lunge (Anjaneyasana)
From Three-Legged Dog in Step 8, step the right foot forward between the palm.
The body comes all the way up with arms reached up.
Maintain the pose.
Step 10. Half Forward Bend - Ardha Uttanasana

Half Forward Bend - Ardha Uttanasana
From Step 9, step the left foot forward into a standing forward bend.
Lift head halfway.
Elongate the spine.
Keep knees slightly bent at a comfortable level.
Step 11: Standing Forward bend (Uttanasana)

Dive into a standing forward bend with your knees bent.
Grab your ankle with your hands.
Bring the belly close to the thighs as much as possible.
Elongate the spine.
Keep neck and head relaxed.
Step 12. Arms Extended in Mountain Pose (Utthita Hastasana in Tadasana)

Arms Extended in Mountain Pose (Utthita Hastasana in Tadasana)
Slowly coming up to a standing pose.
Reach arms up, chest slightly lifted.
Step 13: The Prayer Pose (Pranamasana)

The Prayer Pose (Pranamasana)
Bring Palms together into prayer, taking a moment to centre the mind and body.
Keep breathing slowly and gently.
Step 14: Back to Mountain Pose.

Return to mountain pose and feel the breath and circulation running inside the body.
Stay a moment of peace.
Repeat Steps 1-12, but start by stepping the left leg back this round.
Conclusion
In conclusion, Sun Salutation is a fundamental sequence in yoga that helps build strength, flexibility, and mindfulness. It may seem challenging at first, but with consistent practice and modifications, beginners can eventually master it and enjoy its beauty. Remember to breathe deeply and move along with the rhythm of your breath.


